How to perform a backup & recovery of your hard drive using REDO.
May 9, 2012
This is a quick run through on how to peform a backup of your hard drive using Redo – Backup & Recovery. If you are not familiar with Redo, it is a very simple yet powerfull utility use to make complete backup images of your hard drive. It does have other features included but it is mainly use to peform backups and restores of your system, by cloning your drive and allowing you to save the image file as a backup. In case of failure or disaster you will be able to restore your system to the state it was in when the backup was taken. Redo is one one my favorite utilities to use for this purpose. For more info you can visit their website at redobackup.org.
So here it is:
STEP 1: Dowload the latest version of Redo from their website – redobackup.org and burn the ISO to a CD.
STEP 2: Boot your machine from this CD (make sure you select the CD-ROM drive in your boot menu options or in the BIOS).
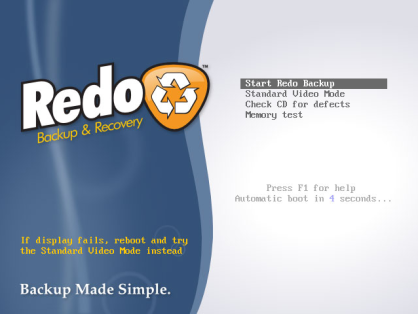
STEP3: Select ‘Start Redo Backup’ from the main screen.
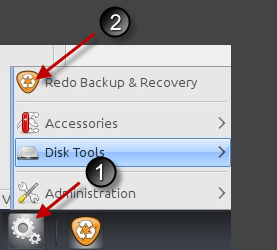
STEP 4: Click on the Gears icon on the bottom left corner and select ‘Redo Backup & Recovery’. If backing up to an external hard drive make sure you have it connected to your machine now.
STEP 6: Select the source drive.

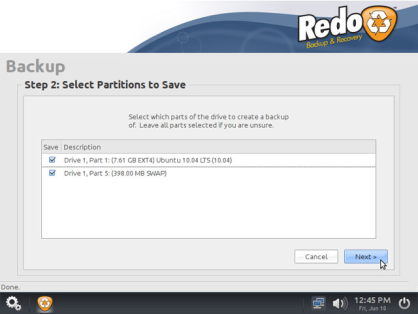
STEP 7: Select the partitions to save.
STEP 8: Select the destination drive. This can be a drive attached locally or a network share.

STEP 9: Select your destination folder. You can create one here or leave the default.

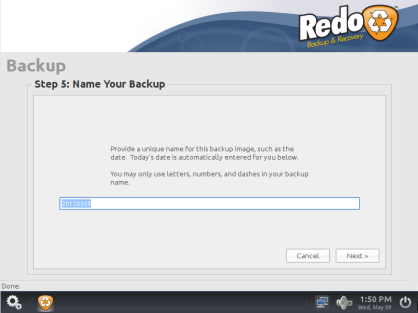
STEP 10: Name your backup. You can give it a name or leave the default as well.
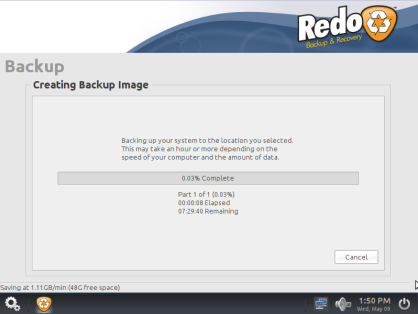
STEP 11: Click ‘Next’ and the imaging process will start.
The process to restore is more or less the same. You would of course select ‘Restore’ in STEP 5 and then select your image file. But that is it. Very simple.
If you have any questions or comments please don’t hesitate to post them here. Thanks for stopping by =)
